num_inference_steps = 10
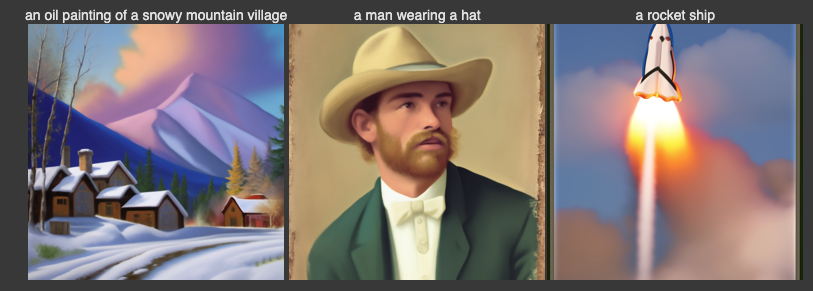
num_inference_steps = 20
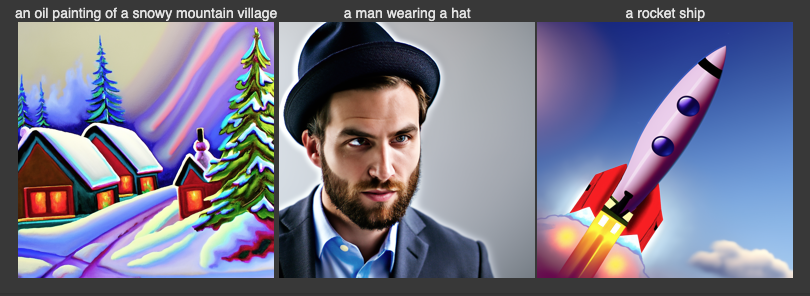
num_inference_steps = 40
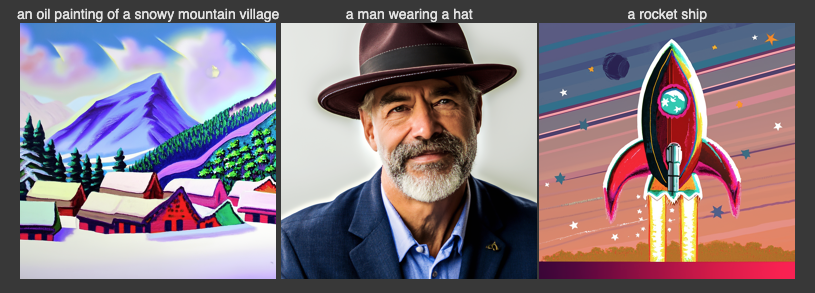
In Project5 part A, I will play around with diffusion models, implement diffusion sampling loops, and use them for other tasks such as inpainting and creating optical illusions.
I use seeds = 180, and num_inference_steps = 10, 20, and 40, for the following pictures, We can see that increasing num_inference_steps generally enhances the detail and clarity of generated images, also they all represent their corresponding prompt except the detail in the generated image is different: at num_inference_steps = 10, images tend to be less detailed and may appear rough, with features like the hat being less defined, we can see that the man with hat looks like in a oil painting rather than a real photo. With 20 steps, there's a improvement, it shows a better clarity and more detail, we can see that the features in generated images are more recognizable. At 40 steps, images are at their most refined, with highly detailed textures, sharper edges, and natural shading, making features like the hat look more realistic.


I generates noisy images of test_im at different noise levels based on specified timesteps (t=250, t=500, and t=750). The forward function adds Gaussian noise to the image according to each timestep's cumulative alpha value.

I generates noisy images of campanile at different timesteps (t=250, t=500, t=750), then applies Gaussian blur to each.
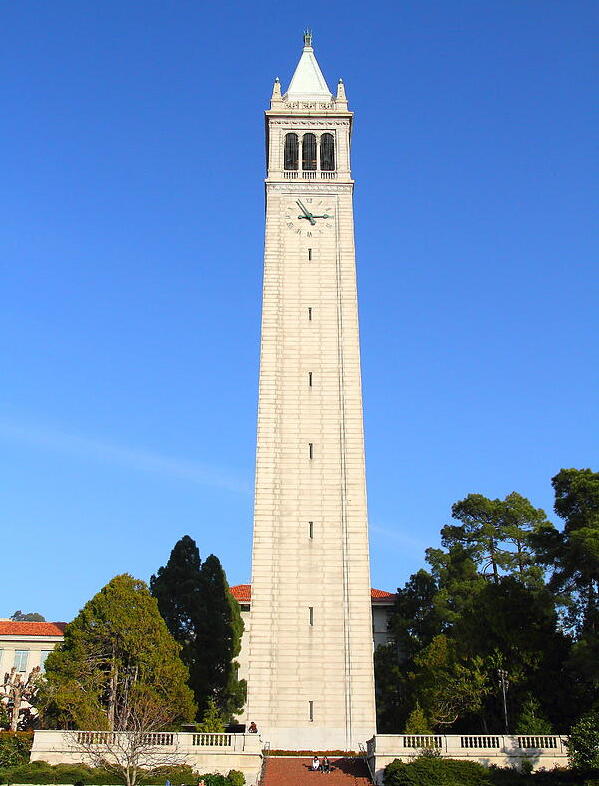

In this part, I generate noisy images at t=250, t=500, t=750). For each noisy image, I estimate the noise using a U-Net model with the prompt embedding "a high quality photo" and performs one-step denoising to approximate a clean image.

I implement iterative denoising on a noisy version of test_im using a U-Net model with a prompt embedding. I first start by adding noise to test_im and then performs iterative denoising over several timesteps. Specifically, in the iterative_denoise function, each iteration calculates a progressively less noisy version of the image by estimating and removing noise. For each timestep t, I use the formula provided to compute alpha and beta values based on cumulative noise, then uses the U-Net model to predict the noise in the current image. This predicted noise is subtracted to estimate a x0, and a weighted average between this estimate and the previous image gives the pred_prev_image for the next timestep.

I generate five random noisy images and iteratively denoises each one using a U-Net model with the text prompt "a high quality photo". For each noisy image, I use the iterative_denoise function to progressively reduce noise over a series of timesteps, resulting in cleaner images.

The quality of previous part's image are not very good, so I use CFG to improve. It is really similar to iteratively denosing. Basically, I denoise five randomly generated noisy images, refining each towards a cleaner version guided by a specific prompt. It first defines conditional and unconditional embeddings for CFG. Then I progressively removes noise from each image across a series of timesteps by combining noise estimates from both conditional and unconditional models by using the formula of CFG. In this case, we can direct the denoising process towards the desired prompt ("a high quality photo").

I use SDEdit with CFG to progressively refine a noisy image toward a clean version, guided by the prompt "a high quality photo". I first iteratively add noise at different starting timesteps (1, 3, 5, 7, 10, and 20) to create increasingly noisy versions of the original image. For each noisy image, I use the iterative_denoise_cfg function to apply iterative denoising, conditioned on the prompt embedding, to gradually remove noise and reconstruct a cleaner image.


In this part, I use one image from the web and two hand-drawn images. With the provided tools, I basically use SDEdit with CFG to denoise a progressively noisier version of web or hand-drawn image using the prompt "a high quality photo". For each starting noise level (i_start=1, 3, 5, 7, 10, and 20), I add noise to these images, then uses iterative_denoise_cfg to gradually remove the noise and produce a clean image.
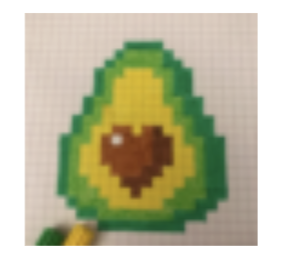

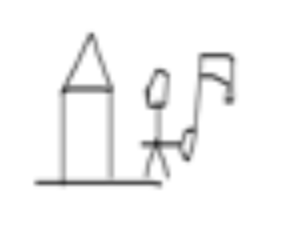

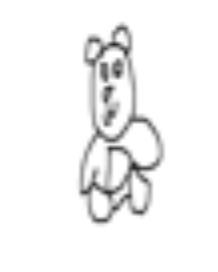

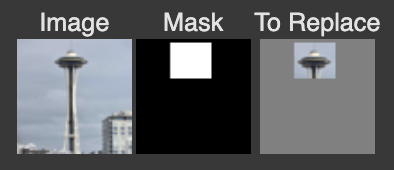
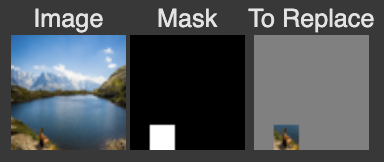
In this part, I perform inpainting on 3 images by filling in masked regions using a guided denoising process. The inpaint function starts with a noisy image generated from input image and applies CFG to denoise it over multiple timesteps, using the prompt "a high quality photo". For each timestep, just like before, I calculate noise estimates from both the conditional and unconditional U-Net models. Then I use CFG to refine the noise estimate. Using the formula provided, In masked areas, the updated image is retained, while in non-masked areas, the original image is preserved using the mask.
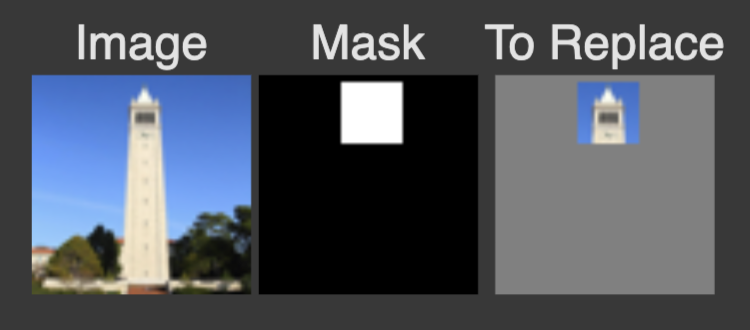

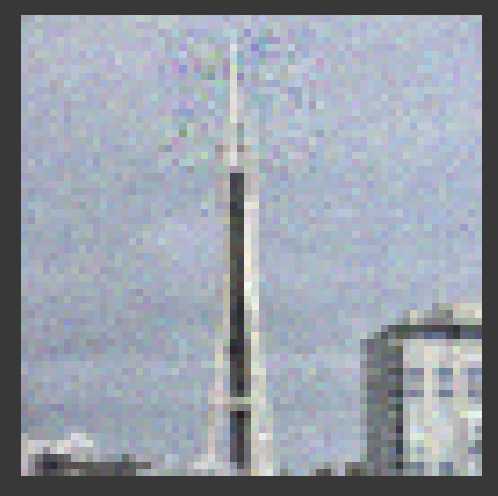
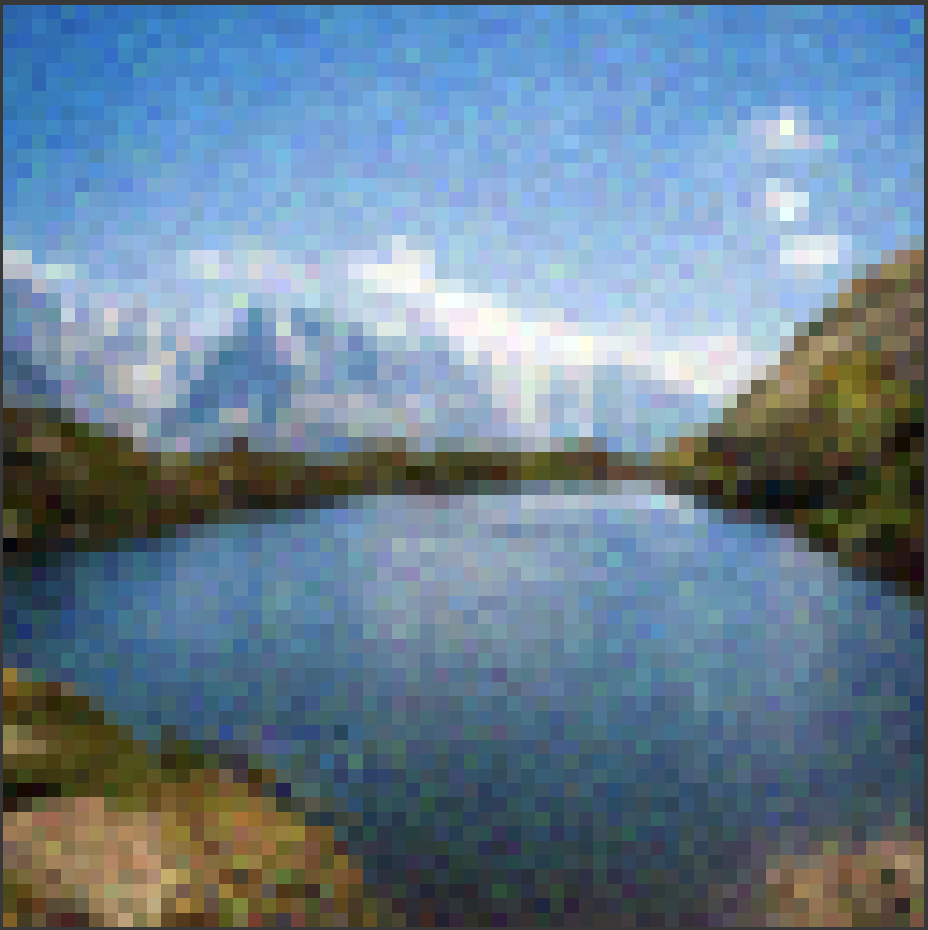
In this part, I denoise a noisy img using the prompt "a rocket ship" and CFG. For each noise level (i_start=1, 3, 5, 7, 10, and 20), I add noise to input img, then I apply iterative_denoise_cfg to refine the image based on the prompt.


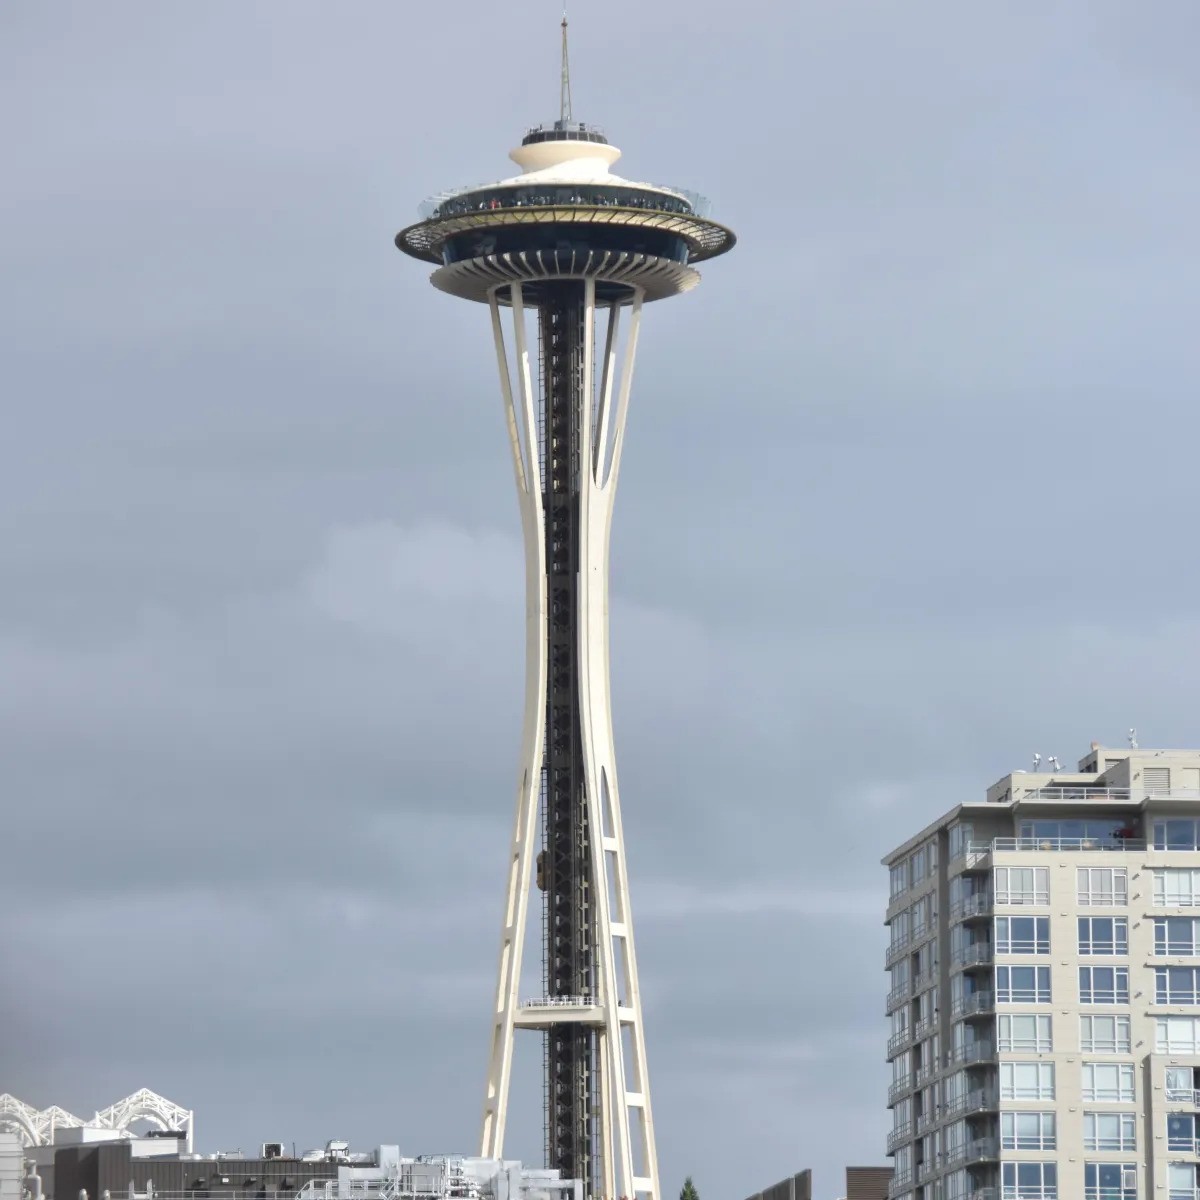

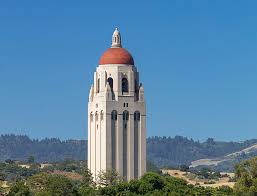

In this part, I create a mirrored "flip illusion" effect by iteratively denoising an image using two different prompt embeddings: one for the original image and one for its flipped version. The function make_flip_illusion denoises the image over a series of timesteps, alternating between the original and flipped image versions: For each timestep, it applies CFG just like before to denoise on both the original image and its flipped version, using separate prompt embeddings. Then it use the formula provided to average two noise generated from two prompt embeddings. Then following things is same as before, it gradually refines the image based on the combined effect of the prompts and their flips, creating a balanced, mirrored "flip illusion" effect in the final denoised image.
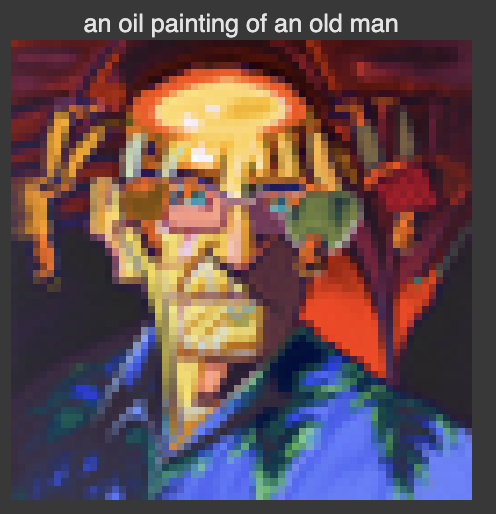
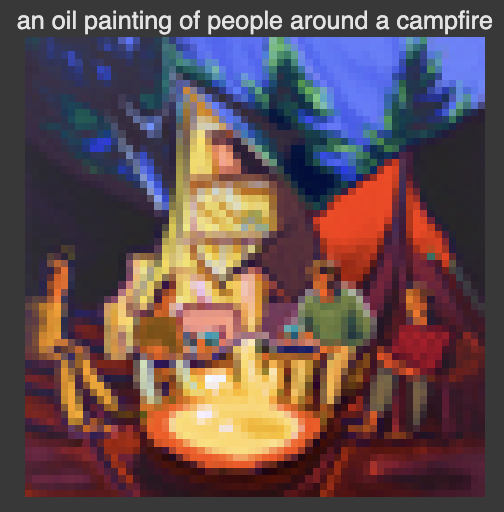
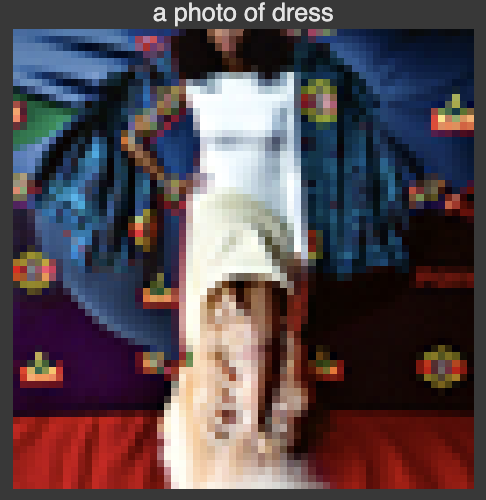
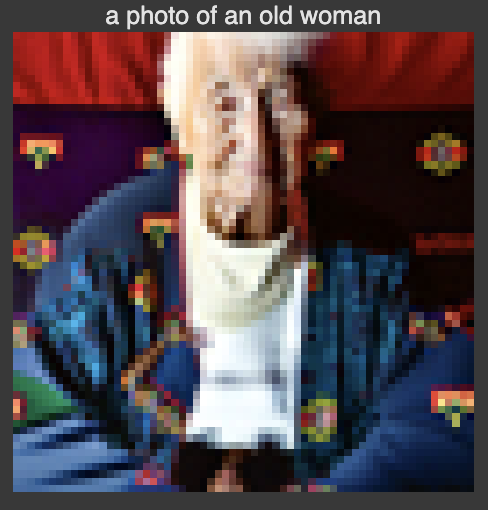
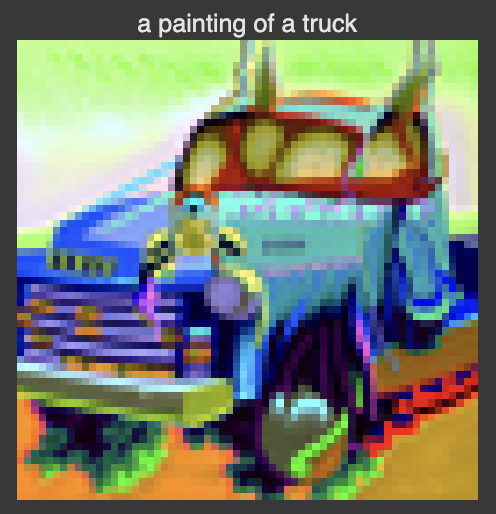
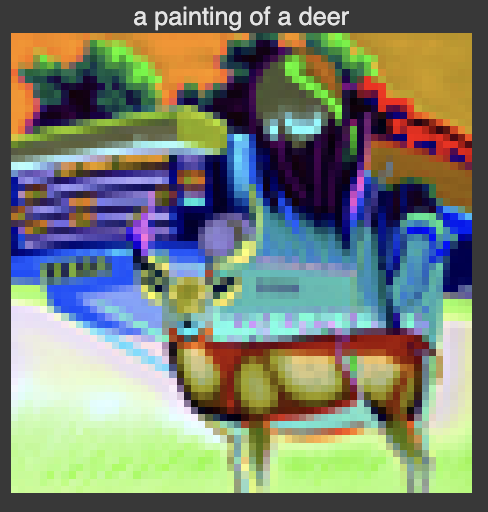
Basically, it is the same thing except we not dealing with the flip image but another image. Also, we just change our original formula from 1.8 to use low pass and high pass function to get the new noise. But to get a promising result, I might need to run several time.
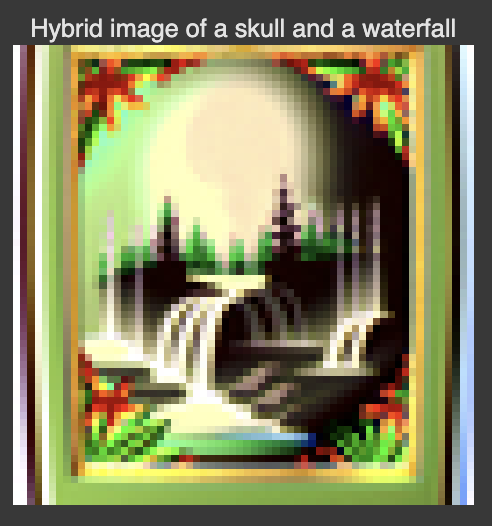
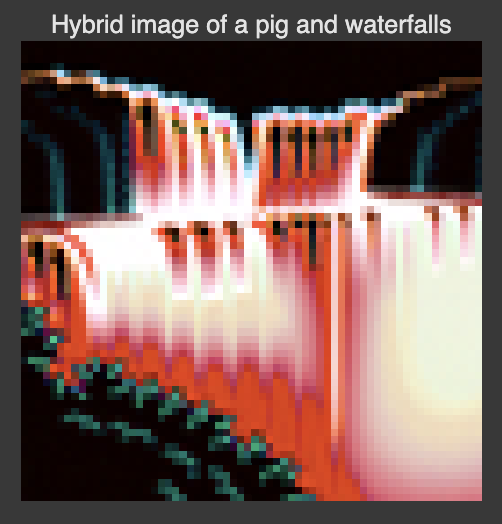
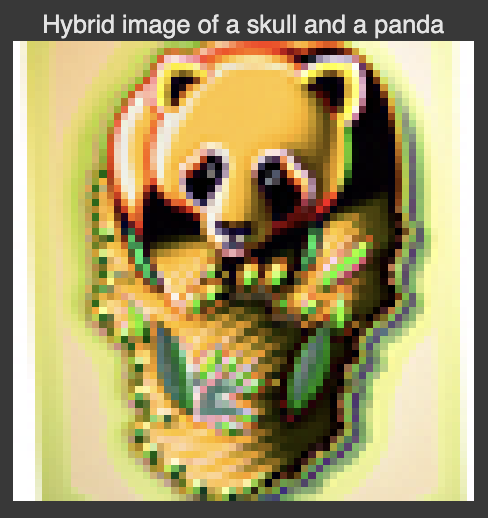
In Project5 part B, I will train my own diffusion model on MNIST using different strategies.
In this part, I implement Conv, DownConv, UpConv, Flatten, Unflatten, ConvBlock, DownBlock, UpBlock in the colab, so no deliverable now.
I show the effect of adding Gaussian noise with varying standard deviations to MNIST images, using 5 examples and 7 different noise levels [0.0, 0.2, 0.4, 0.5, 0.6, 0.8, 1.0]

I train an unconditional U-Net model on the MNIST dataset. The model was trained to reconstruct clean images from noisy inputs by adding Gaussian noise to the images. Here is the traning loss curve.

I also display sample results after the 1st and 5th epoch.


I evaluate my pretrained U-Net model for denoising MNIST images by adding Gaussian noise with varying levels of 𝜎 to the test set. Here is the result:

I basically added the time embedding to the previous architecture, following the instructions from the website.
I first implement ddpm_schedule, ddpm_forward in the colab. Then I started training it using the hyperparameters from the website. Here is the training curve.

I then implement ddpm_sample, and here is the sample result after 5 epochs.

Here is the sample result after 20 epochs.

Based on the Time Conditioning Unet, I add the class embedding following the instruction in the website. Also, I train this Unet using learning rate 1e-4, batch size = 128, and hidden_dim = 128. Here is the training curve.

I then implement ddpm_sample in the Class-Conditioned Unet. Here is the ssampling result after 5 epoches.

Here is the sample result after 20 epochs.
